Disco Diffusion v5.2
Go here: https://colab.research.google.com/drive/1q_g0ntxagI77t4mHdNFKHYk4ersiNsQg?usp=sharing
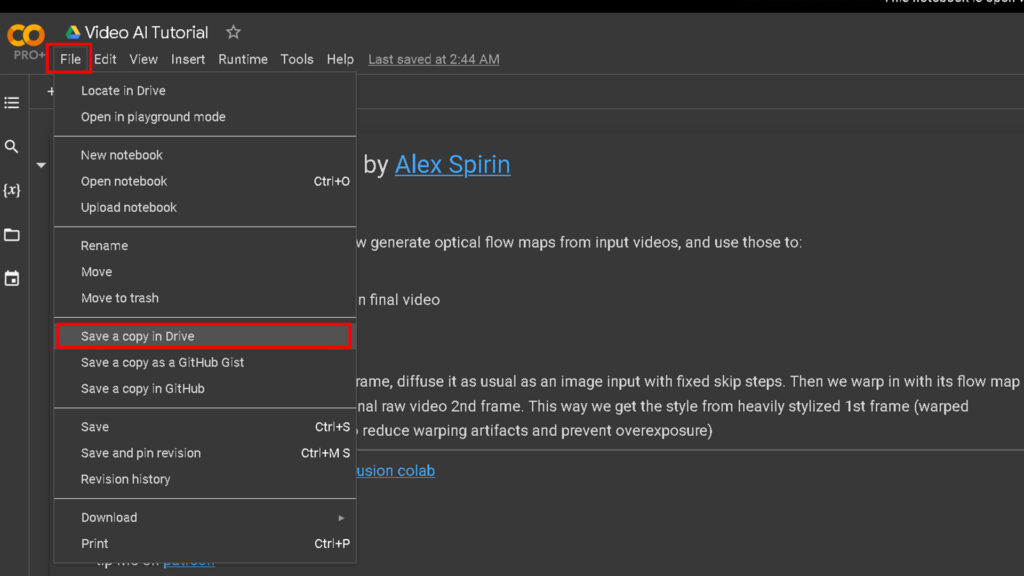
File - Save a copy in Drive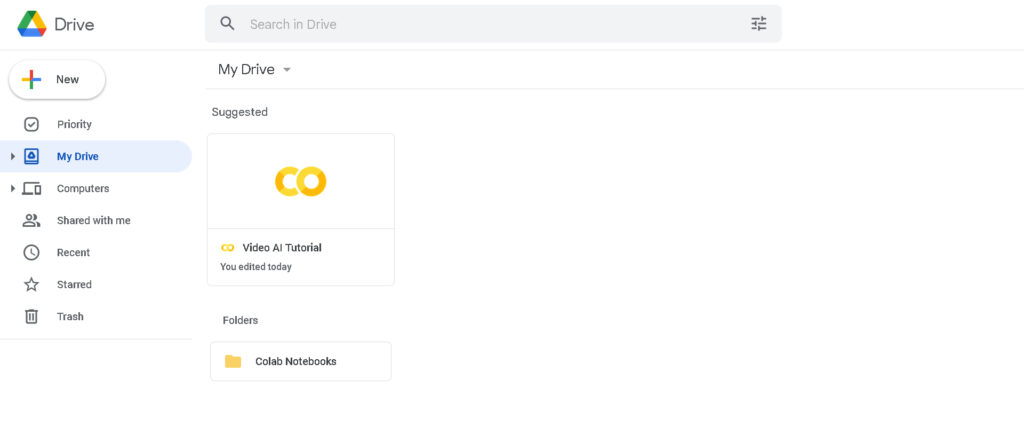
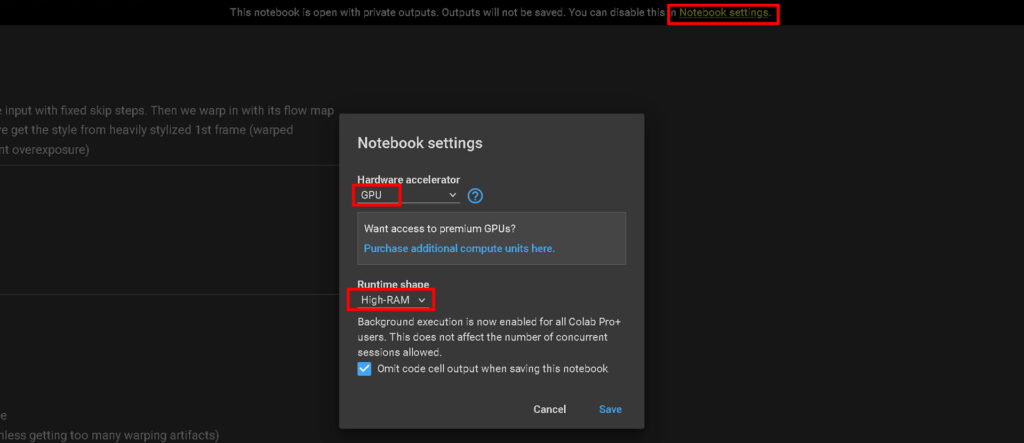
Notebook Settings - GPU - High RAM

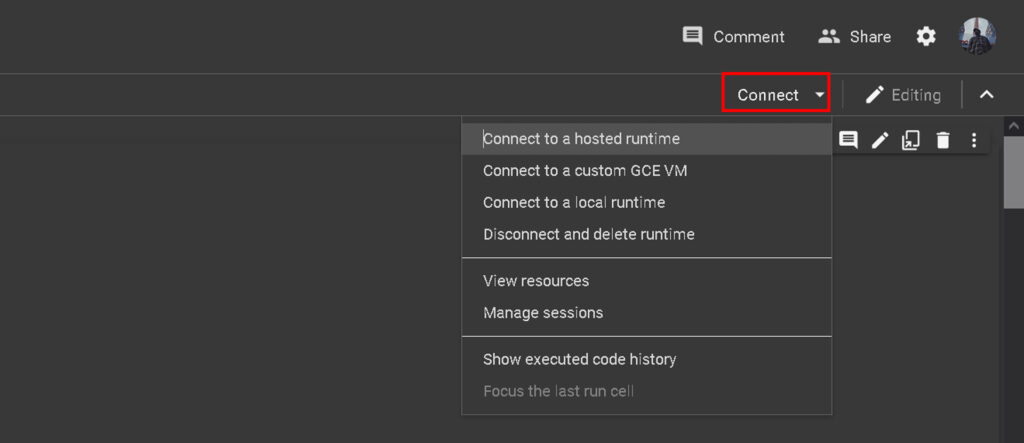
Connect - (then choose whatever fits you, since I have Collab Pro, I am going to go with the hosted runtime)
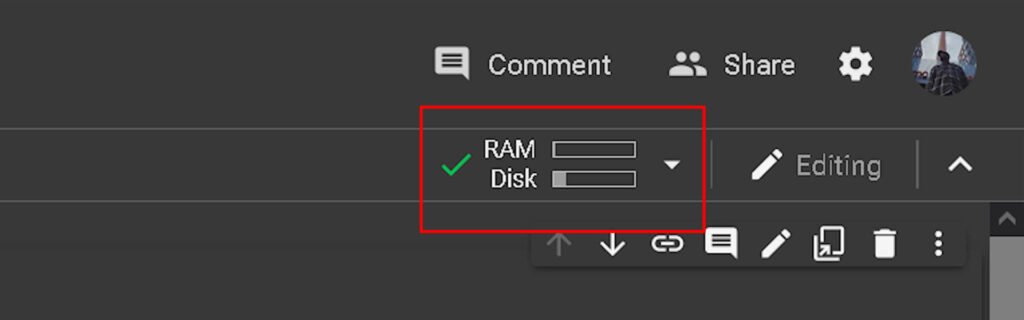
if you have the green checkmark, you’re good to go!
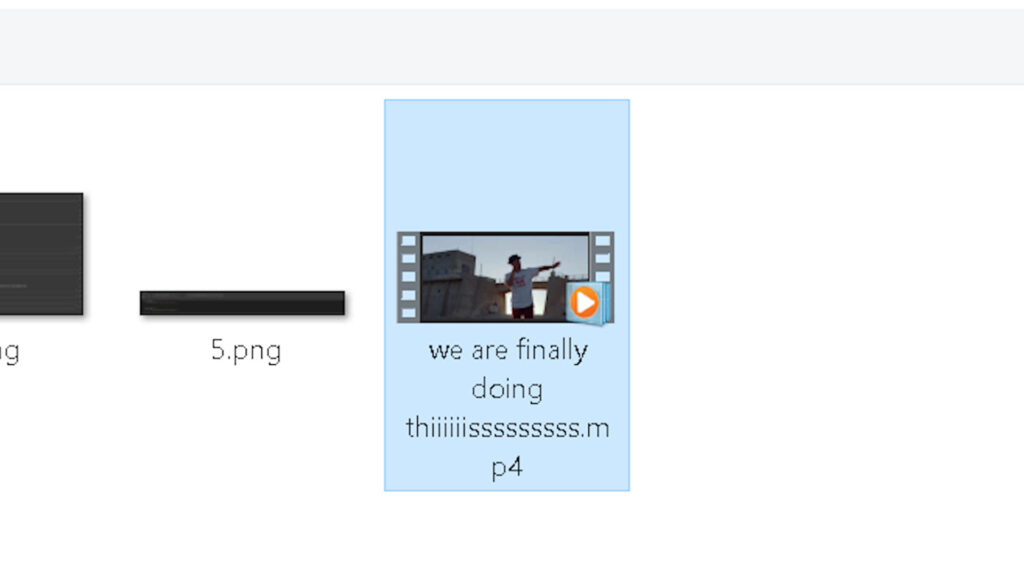
5 – Choose (your destiny!!!) the video that you want to F up
The original file resolution is too big, so I downsized it, made it smaller
Bigger res you have, more time it will take for AI to process each frame, so! Up to you.
Now resolution I have for this video is 1622×640 px
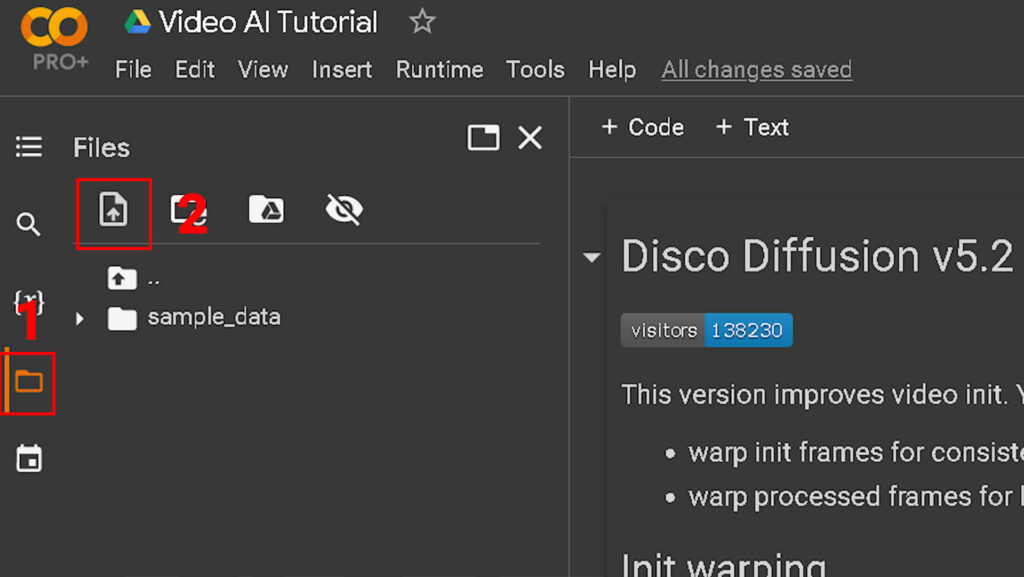
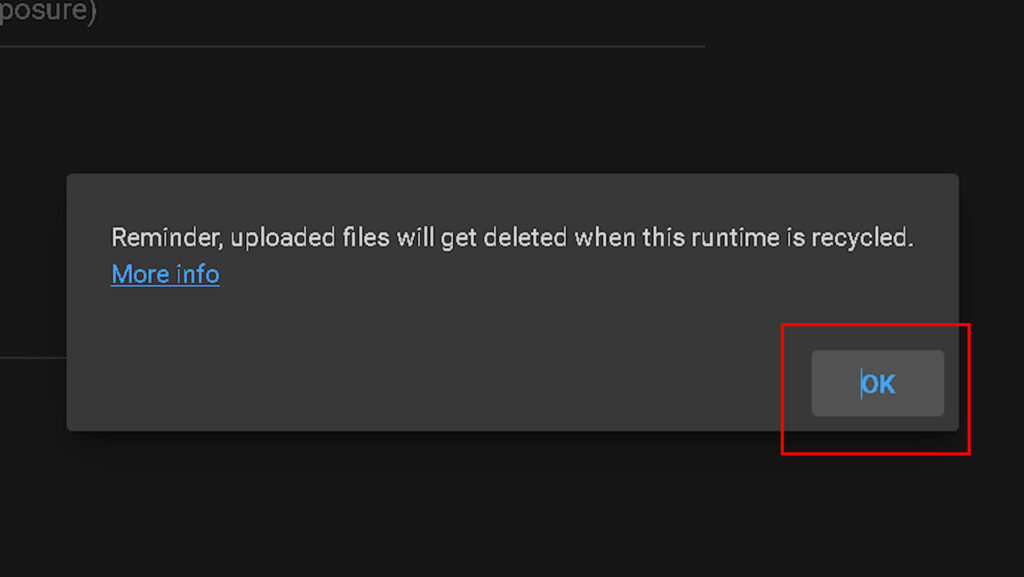
6 – Upload your video

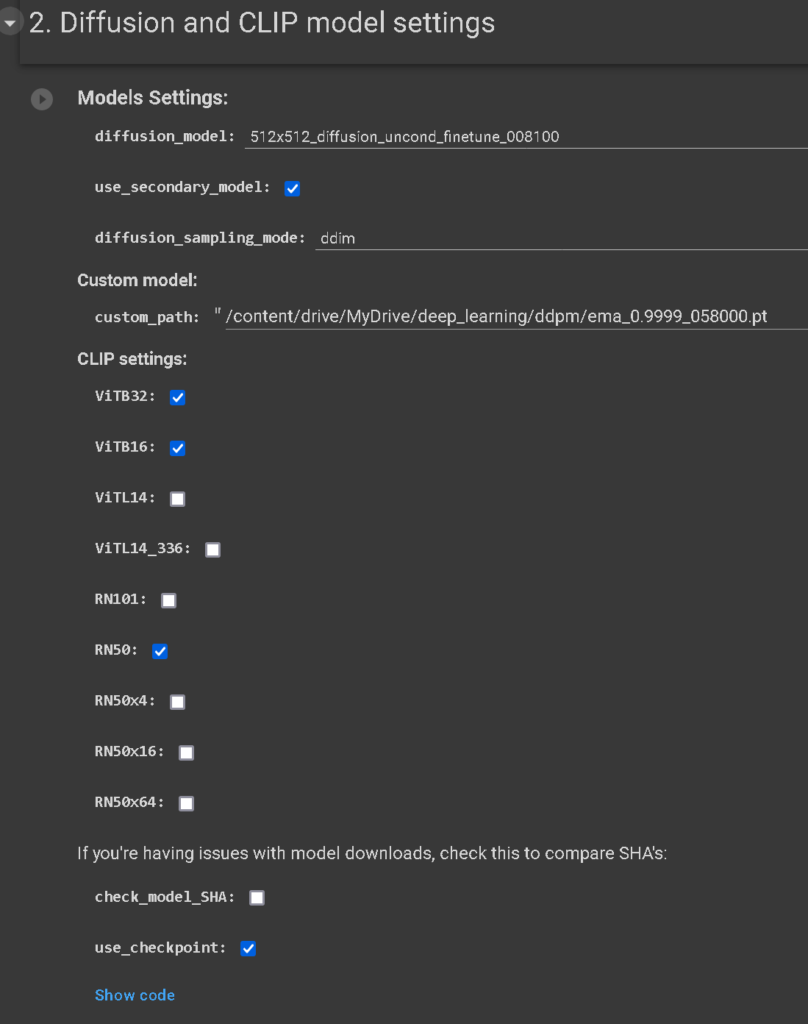
Regarding the settings and all that fun/complicated stuff
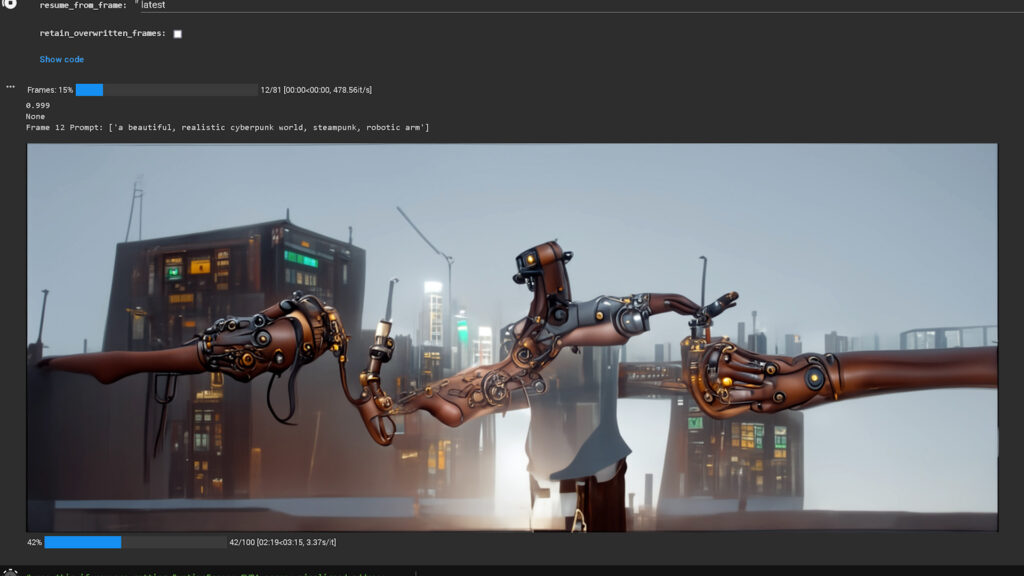
I’m going to skip, and just drop the screenshots, for you to see the most important setting that I used
Those numbers are very important, and there are so many good tutorials out there, better than me explaining how all of it works. As an option, AI itself has tons of links/docs inside, feel free to invest some time into readings. It will help you better “play” with final outcomes
or, just simply copy-paste these numbers until you figure it out)
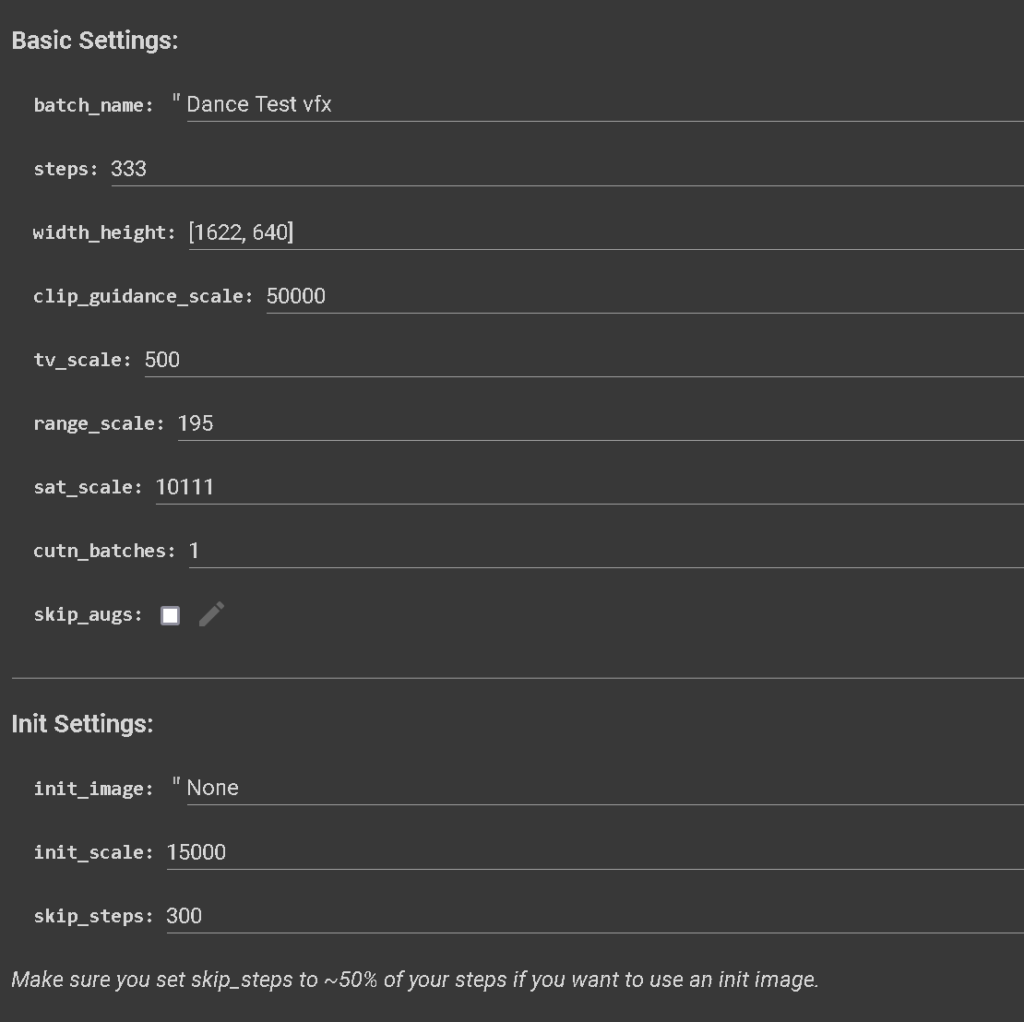
width_height: PUT YOUR VIDEO RESOLUTION OVA HE-AA
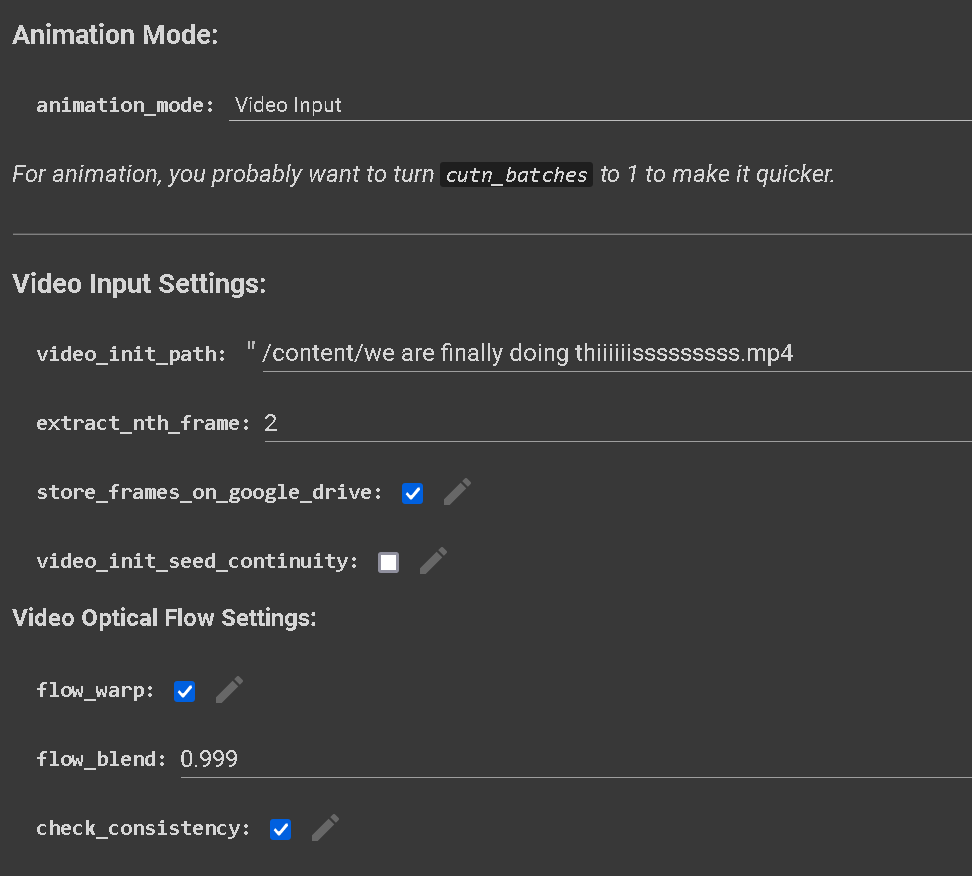
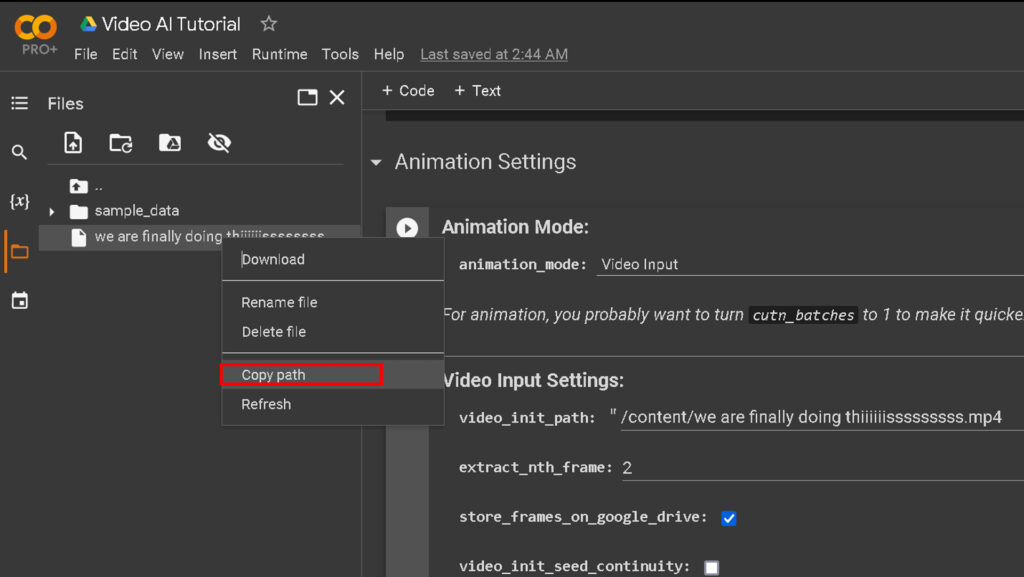
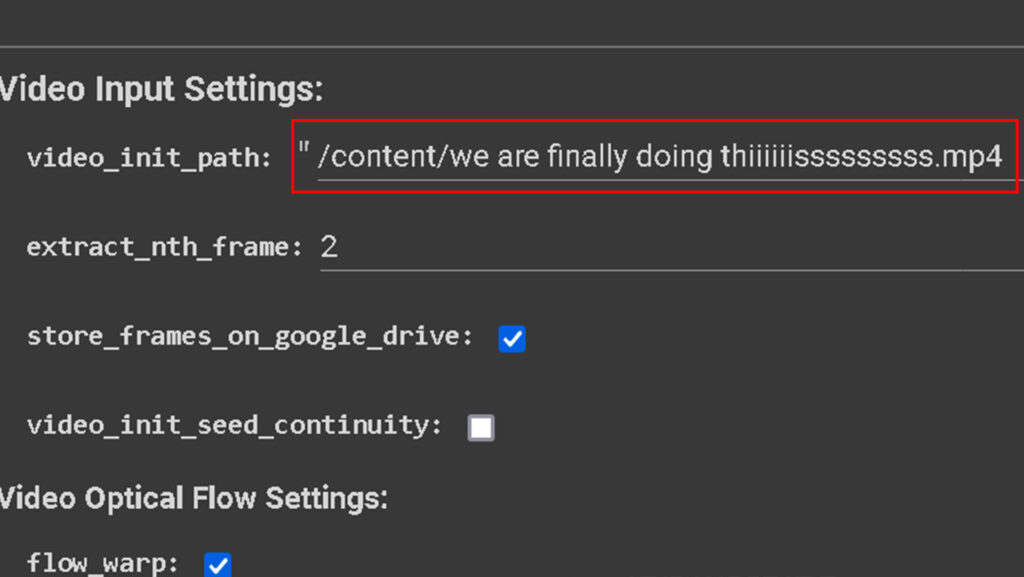
video_init_path: MAKE SURE YOU PASTE YOUR VIDEO FILE URL
this is kind of importanteeeeeee
extract_nth_frame: NUMBER OF FRAMES YOU WANT TO BE EXTRACTED FROM YOUR VIDEO
let’s say you have a 4-sec video (30fps)
which in total would be 120 frames
if you use extract_nth_frame: 2
it means, ‘only extracting every second frame’
so from 120 frames, you would end up with half, 60 fps in total at the end
it will save you some time, you can stretch out the video, and match the original in post. it will still look cool
if you use extract_nth_frame: 1
it means, ‘extracting every frame’
so from 120 frames, you’d get all 120 frames, babe!) yep that is right )
but good luck with the wait time though, stay strong! I admire your persistence, or you’re rich AF and have a dope comp. anywayssssss)
Ok, back to coping your file URL


and THEN we’ve got, prompts!
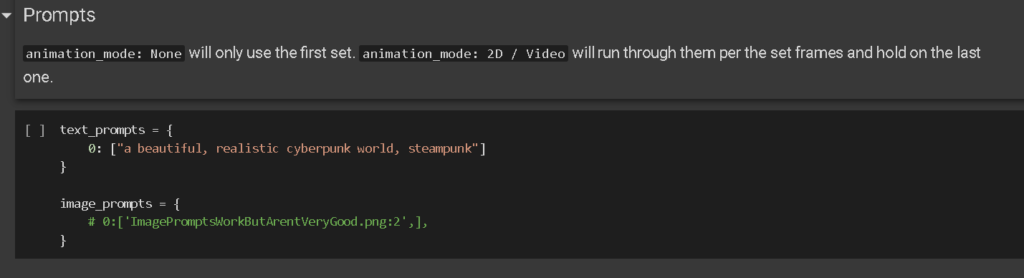
Every prompt might be different, depending on your shot/scene
I usually experiment and write down keywords, it even works better if you write in full sentences.
Basically experiment and see, if that “look” is what you want/like. Go wild honestly, so many possibilities!
This tutorial really helped me, sharing it in case you wanna check it out! Useful stuff in there.
Will drop some of his prompts down below:
https://youtu.be/Yf2G9ye37ms
These two were best so far from his tut:
[‘cypunk, futuristic, mechanic, dystopia, trending on artstaion, by greg rutkowski, 8k’]
[‘digital painting, nature, kyoto, japan, fantasy, featured on artstation, 8k’]

It will def take some time, so be patient, don’t be ME!)

all your renders should be in AI – Disco_Diffusion – images_out folder